In Project Zomboid, weapons are effective against zombies, but with additional parts attached, you can even take their power a step further.
In this guide, we’ll show you how to attach weapon parts in Project Zomboid.
Recommended Read: How to Tailor in Project Zomboid
In Project Zomboid, you can attach weapon parts to a firearm by right-clicking on it and selecting “Upgrade” => “Weapon Part Names”. Remember that this option is only available if you have a Screwdriver in your inventory.
Table of Contents
How to Attach Weapon Parts in Project Zomboid
Weapons parts in Project Zomboid refer to additional components that can be attached exclusively to firearms to increase magazine capacity, reduce encumbrance, or enhance precision and effectiveness.
In other words, you can only attach weapon parts if you use firearms or at least have firearms in your inventory.
There are 13 available weapon parts in Project Zomboid. Regardless of the type of firearm, they all follow the same attachment method.
To attach weapon parts to your guns, you’ll need a Screwdriver, which can be found in storage crates, warehouses, and hardware stores. The magazine is the only part that can be equipped without any requirements.
To attach weapon parts in Project Zomboid, right-click on the weapon and select “Upgrade” => “Weapon Part Names”.
This option only shows weapon parts that are compatible with the chosen gun, so you don’t have to worry about missing any of them.
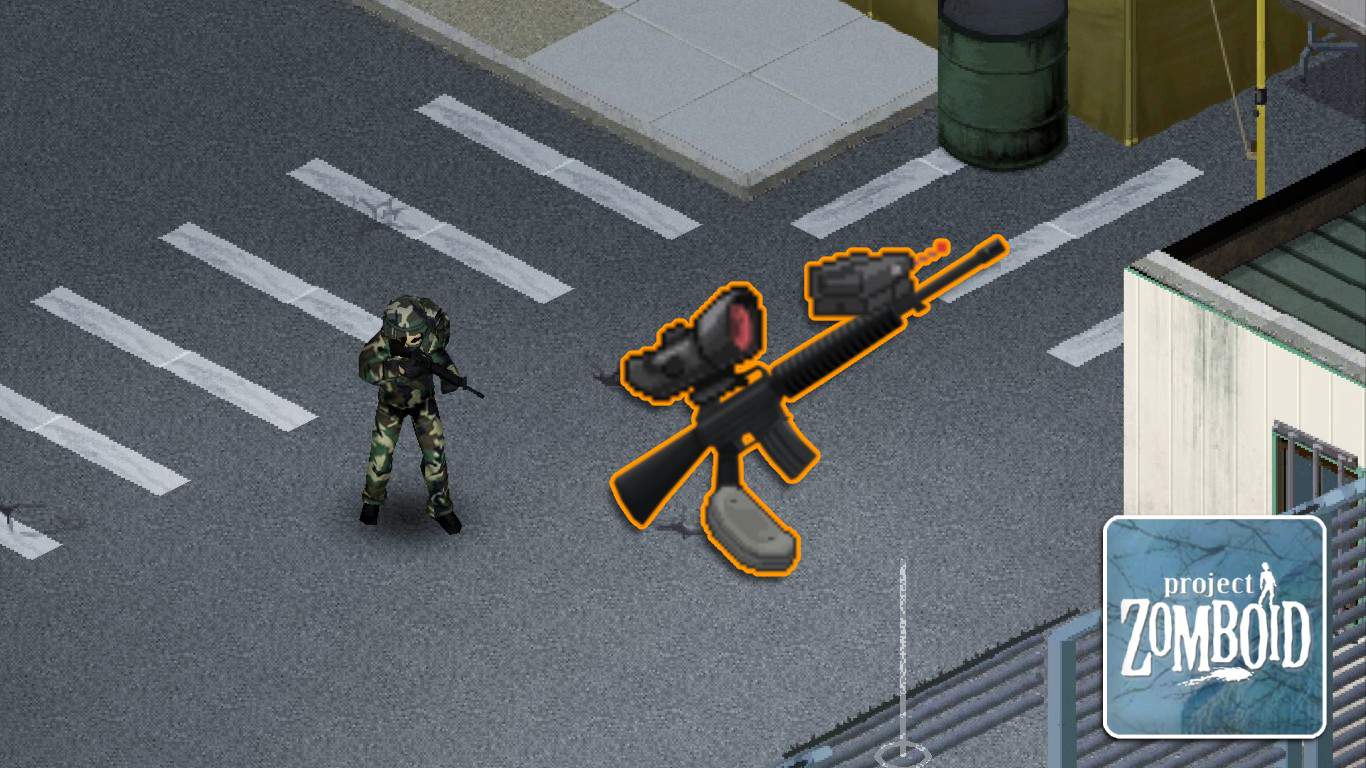
You can attach different weapon parts to a single weapon. For instance, the M16 can have both a Red Dot sight and a Recoil Pad attached simultaneously.
That’s how to attach weapon parts in Project Zomboid.
Have any suggestions for this guide? Let us know in the comment section below.


